Sew simple pencil bag
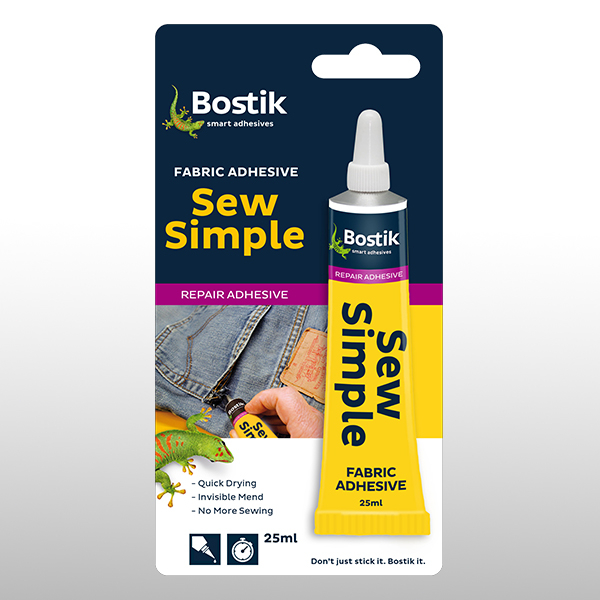
So easy, Sew Simple. Make your own Sew Simple pencil bag!

What you will need
- A pair of old jeans that you want to recycle
- 1 x Zip
- Fabric scissors
- Fabric marker
- Measuring tape and ruler
Instructions
STEP 1: Measure & Cut
Position the jeans with the back pocket facing up. Using your fabric marker, mark a line on either side of the pocket, 1.5cm wider than the actual pocket. Mark the length 3cm above the pocket and 36cm down from the top of the pocket. Cut the pencil bag out.
STEP 2.1: Glue
Turn the fabric over. Make a glue line 2cm wide on the top end, wait approx. 7 min, fold end over 1cm wide and glue together. Repeat on the bottom end.
STEP 2.2: Glue
Apply another glue line on the top & bottom end, 1cm thick and to the zip on either side of the teeth. Wait +-7 mins and glue the ends onto the zip across from each other. Leave to dry overnight.
STEP 2.3: Glue
Turn the pencil bag inside out. Apply a glue line on the end of one open side (1cm thick), wait +-7 mins and glue in place to form a seam. Repeat with the other side.
STEP 3: Dry & Fold
Leave to dry for at least 2 hours before turning the pencil bag inside in. You will have to work the seams a bit to shape the bag. Leave to dry for at least a day before filling the pencil bag with your favourite stationery items.
TOP TIP
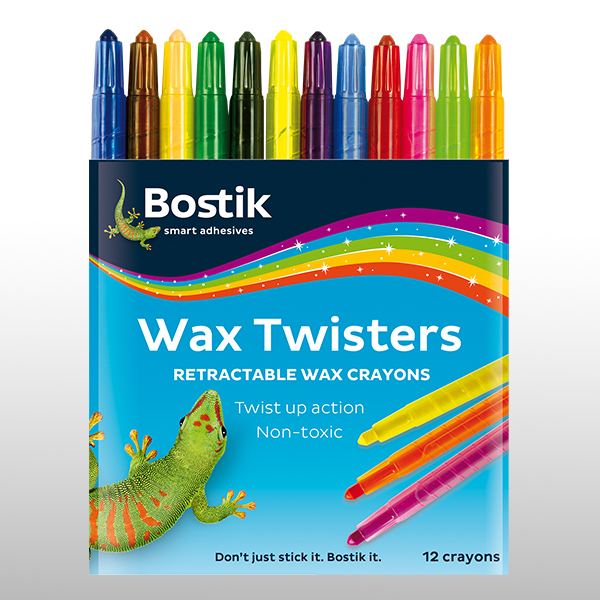
The peach colour Bostik Wax Twister works perfectly to mark your fabric!
Sew Simple

