Paper rose

Get ready for Spring with our DIY paper flowers! Spring is just around the corner and we are sure you have also noticed the beautiful colourful flowers starting to bloom. Add some colour to your craft room with these easy-to-make colourful paper flowers.

Instructions

STEP 1: Fold

Measure a 10cm x 10cm square on your paper. Now fold the paper in half, and repeat 2 more times (total 3 times). Cut out the squares, you should now have 4 squares of 10cm x 10cm paper.

STEP 2: Triangles

Fold the squares pieces of paper into small triangles (repeat the fold twice). Repeat this for all 4 squares.

STEP 3: Cut

Draw a rounded shape across the middle of the triangle and cut the excess off.

STEP 4: Open flowers

Repeat step 3 until you have 4 flowers of the same size.

STEP 5: Cut

On the first flower, cut away one ‘petal’ from the flower, then on the next flower, cut away two petals, on the next flower, cut away 3 petals and then lastly, cut away 4 petals on the remaining flower. When done you will have 7 pieces.

STEP 6: Paste

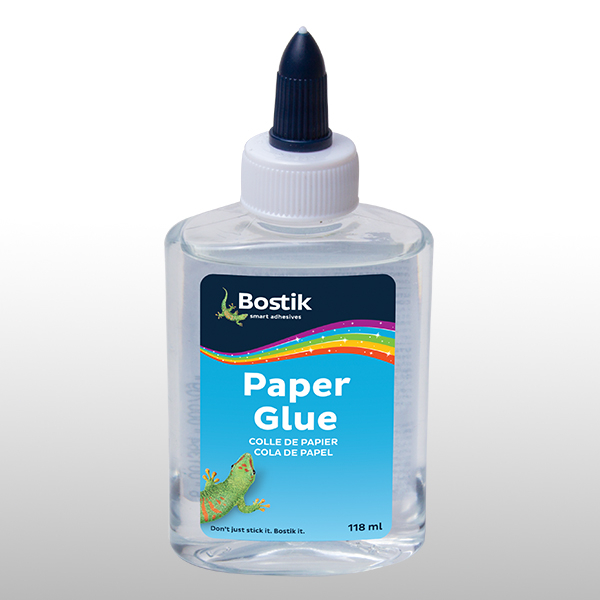
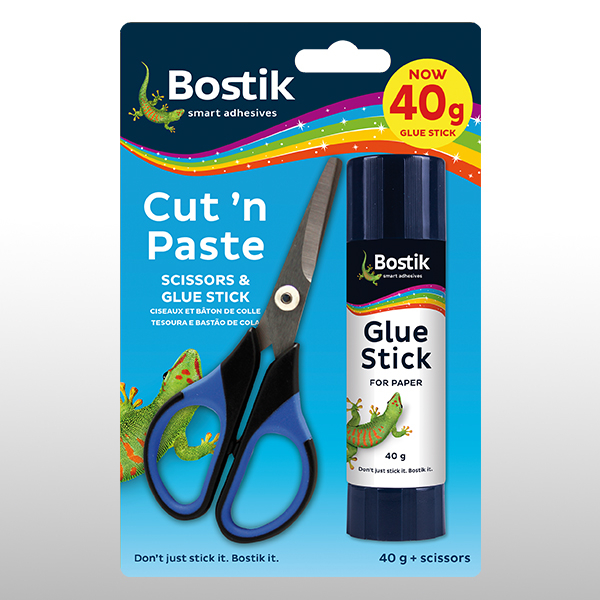
Glue each flower piece to connect them, using Bostik Paper Glue. Do this by gluing one "petal" onto another. Repeat this with all the pieces.

STEP 7: Shape

Use a pencil/pen to roll the edges of each flower petal outwards to give them shape.

STEP 8: Assemble

Insert the flower pieces starting from largest to smallest and use Bostik Paper Glue to mount them together.

See all products